
It’s not an easy task to create a window graphic with two different sides and two different images or designs. In fact, it’s a pretty advanced application.
If you’re ready to give it a try, Skip Grant of Grant Graphics has provided us with a few tips that you can follow to produce a great two-sided window graphic. You may not want to do thousands this way, but short runs are just fine.
- Start by laying out the first side. Include your contour cut. Add an outside rectangular box with a thin black outline and no fill. (This is to help register the two sides later on).
- COPY the entire graphic and box and PASTE it side by side. If different text is desired on one side, change the text, but make sure it remains within the same overall contour-cut shape.
- Select the graphic which will be viewed through the front of the window. MIRROR this graphic, including the rectangular border which surrounds it. Save this reversed image only as a new file with a name such as DecalREV.eps.
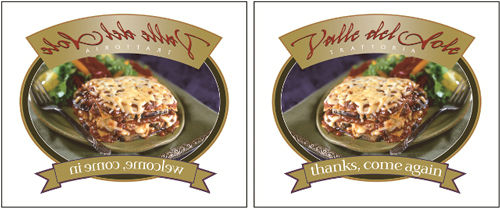
- Save the other — right-reading — graphic as a new file with a different name (i.e. DecalWHITE.eps).
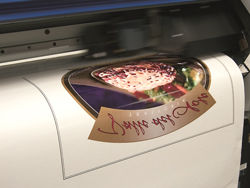
- Send the reversed file to PRINT ONLY on clear vinyl. Take the print out of the print/cut device.
- Put in light-blocking white vinyl and PRINT ONLY the right-reading file with Quadralign crop marks. Do not cut. Remember to use the same step and repeat structure if you are doing multiples. The cut info for this job is in the cutting queue waiting for you to get it later. Take the print out of the print/cut device.
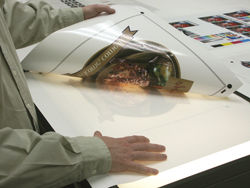
- On a worktable or lightbox, lay the white vinyl printed side down. Position the clear vinyl print side down on top of the white. Match up the rectangles and use transfer tape to hinge it in position. The printed side of your clear vinyl should be facing the backing of the white vinyl.
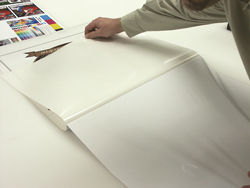
- Carefully peel back and trim the backing paper from the white vinyl only. Be sure to trim the backing outside of the finished contour-cut area, but leave enough white vinyl to allow you to hinge the graphic.
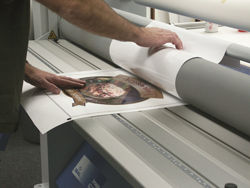
- Laminate the white to the clear.
- Put the piece back into the machine and have Quadralign automatically realign the optical registration points on the white vinyl print.
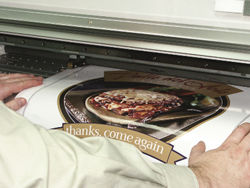
- SEND cut only for the white vinyl file. Remember to set your cut depth deep enough to cut through both layers.
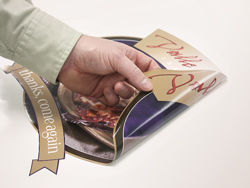
- Weed the finished graphic. Voila!
- Apply to the inside of a window, with the clear side facing out.

In Saratoga Springs, NY, Skip Grant of Grant Graphics has refined label making to a science. He produces labels, custom contour-cut decals, graphic overlays, industrial markings, serial-numbered decals, sports logos and domed labels.
This article has been excerpted from Roland DG’s popular instructional booklet, Taking the Mystery Out of Print/Cut. The ultimate guide to print/cut technology, this valuable, information-packed resource has already helped thousands of Roland DG customers streamline their production environments and grow their businesses. Get yours here.
